Models from the Marketplace: Your AI Shopping Spree! 🛍️
Welcome to Dataloop's Model Marketplace - think of it as your one-stop shop for ready-to-use AI models! Whether you need image classification, object detection, or other ML goodies, we've got you covered.
What's in Store? 🏪
Our Marketplace offers:
- 🚀 Pre-trained models ready for instant use
- 🎯 Models you can fine-tune on your data
- 🔧 Various algorithms for different tasks
- 📦 Easy installation and deployment
Let's dive in and see how to use these awesome models!
Quick Start: From Zero to Hero 🦸♂️
1. Set Up Your Workspace 🏗️
First, let's create your AI playground:
# Create your project and dataset
project = dl.projects.create(project_name="awesome-project")
dataset = project.datasets.create(dataset_name="my-dataset")

# Upload a test image
item = dataset.items.upload(
    'https://github.com/dataloop-ai/dtlpy-documentation/blob/main/assets/images/hamster.jpg?raw=true'
)
2. Get Your Model 🛒
Head to the Marketplace and pick your model:
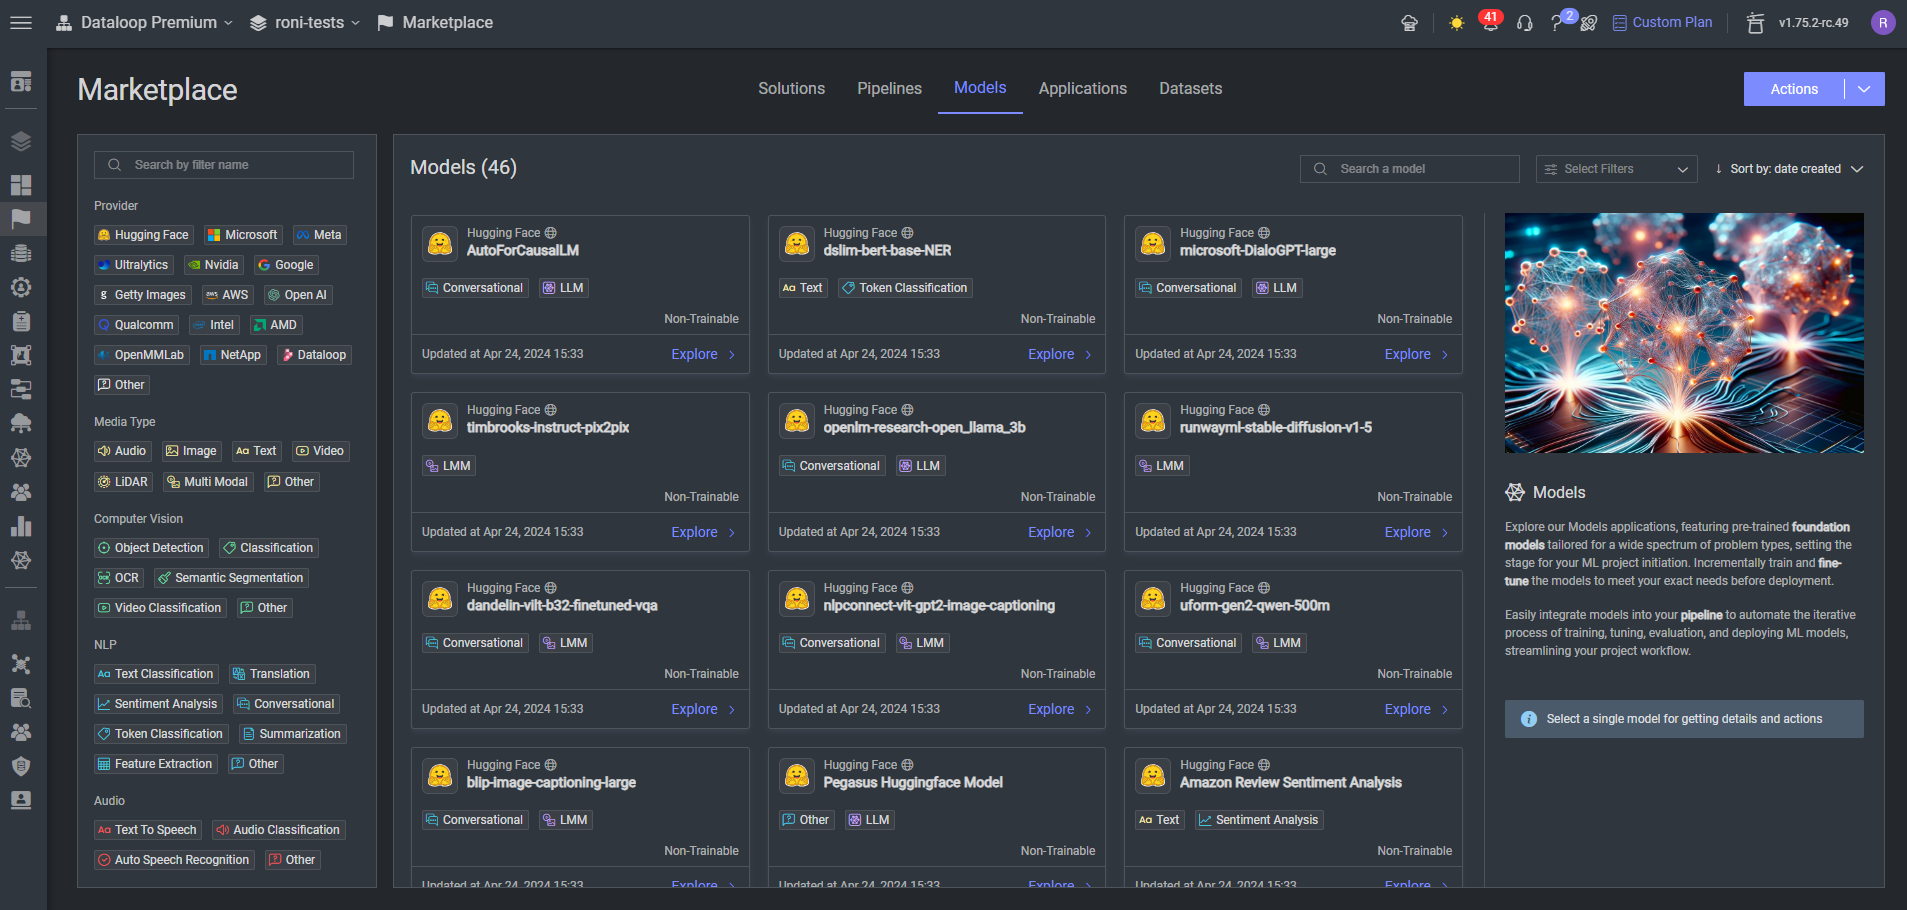
💡 Pro Tip: Look for models that match your use case and data type!
3. Deploy Your Model 🚀
# Get and deploy your model
model = project.models.get(model_name="awesome-model")
service = model.deploy(
    service_config={
        'runtime': {
            "podType": dl.INSTANCE_CATALOG_REGULAR_S
        }
    }
)
4. Make Predictions 🎯
# Get the latest model state
model = dl.models.get(model_id=model.id)

# Run prediction
prediction = model.predict(item_ids=[item.id])
prediction.wait()

# View results in the web UI
item.open_in_web()
Level Up: Fine-tuning Models 🎮
Want to make these models even better? Let's customize them for your specific needs!
1. Prepare Your Data 📊
First, let's organize your dataset into train and validation sets:
# Create filters for train/validation split
train_filter = dl.Filters(field='dir', values='/train')
validation_filter = dl.Filters(field='dir', values='/validation')

# Clone the marketplace model for fine-tuning
custom_model = project.models.clone(
    from_model=public_model,
    model_name='my-fine-tuned-model',
    dataset=dataset,
    project_id=project.id,
    train_filter=train_filter,
    validation_filter=validation_filter
)
🎮 Quick Hack: Need to split your data randomly? Check out our random split script!
2. Understanding the Model's Brain 🧠
Your model comes with some smart mappings:
# See how your model thinks
print("Label to ID mapping:", custom_model.label_to_id_map)
print("ID to Label mapping:", custom_model.id_to_label_map)

# Check the model's settings
print("Model configuration:", custom_model.configuration)
3. Training Time 🎓
Let's teach your model some new tricks:
# Basic training
ex = custom_model.train(
    service_config={
        'runtime': {
            "podType": dl.INSTANCE_CATALOG_REGULAR_S
        }
    }
)

# Or go pro with custom settings
ex = custom_model.train(
    service_config={
        'runtime': dl.KubernetesRuntime(
            pod_type=dl.INSTANCE_CATALOG_GPU_K80_S,
            autoscaler=dl.KubernetesRabbitmqAutoscaler(
                min_replicas=0,
                max_replicas=1
            ),
            preemptible=False,
            concurrency=1
        ).to_json(),
        'executionTimeout': 10000 * 3600
    }
)

# Watch the training progress
ex.logs(follow=True)

# Check the results
custom_model = dl.models.get(model_id=custom_model.id)
print("Model status:", custom_model.status)
4. Deploy Your Super-Model 🦸♀️
# Deploy your fine-tuned model
custom_model.deploy()

# Get the latest model state
custom_model = dl.models.get(model_id=custom_model.id)

# Test it out!
model.predict(item_ids=[item.id])
Pro Tips for Model Masters 👑
Before Training 📋
- Clean your data
- Balance your datasets
- Check label compatibility
During Training ⚡
- Monitor the logs
- Track performance metrics
- Save checkpoints
After Training 🎯
- Validate on new data
- Compare with baseline
- Document improvements
Need More Help? 🤝
- 📚 Check out our Model Management docs
- 🛍️ Explore more in our Marketplace
Happy modeling! 🚀